Install & Launch PageMosaic
Download the latest installer for your platform from the GitHub Releases page:
- Windows — run the
.exeinstaller, then launch PageMosaic from the Start menu. - macOS — open the
.dmg, drag PageMosaic to Applications, then launch it. - Linux — install the
.debor.rpmpackage, or extract the.zip.
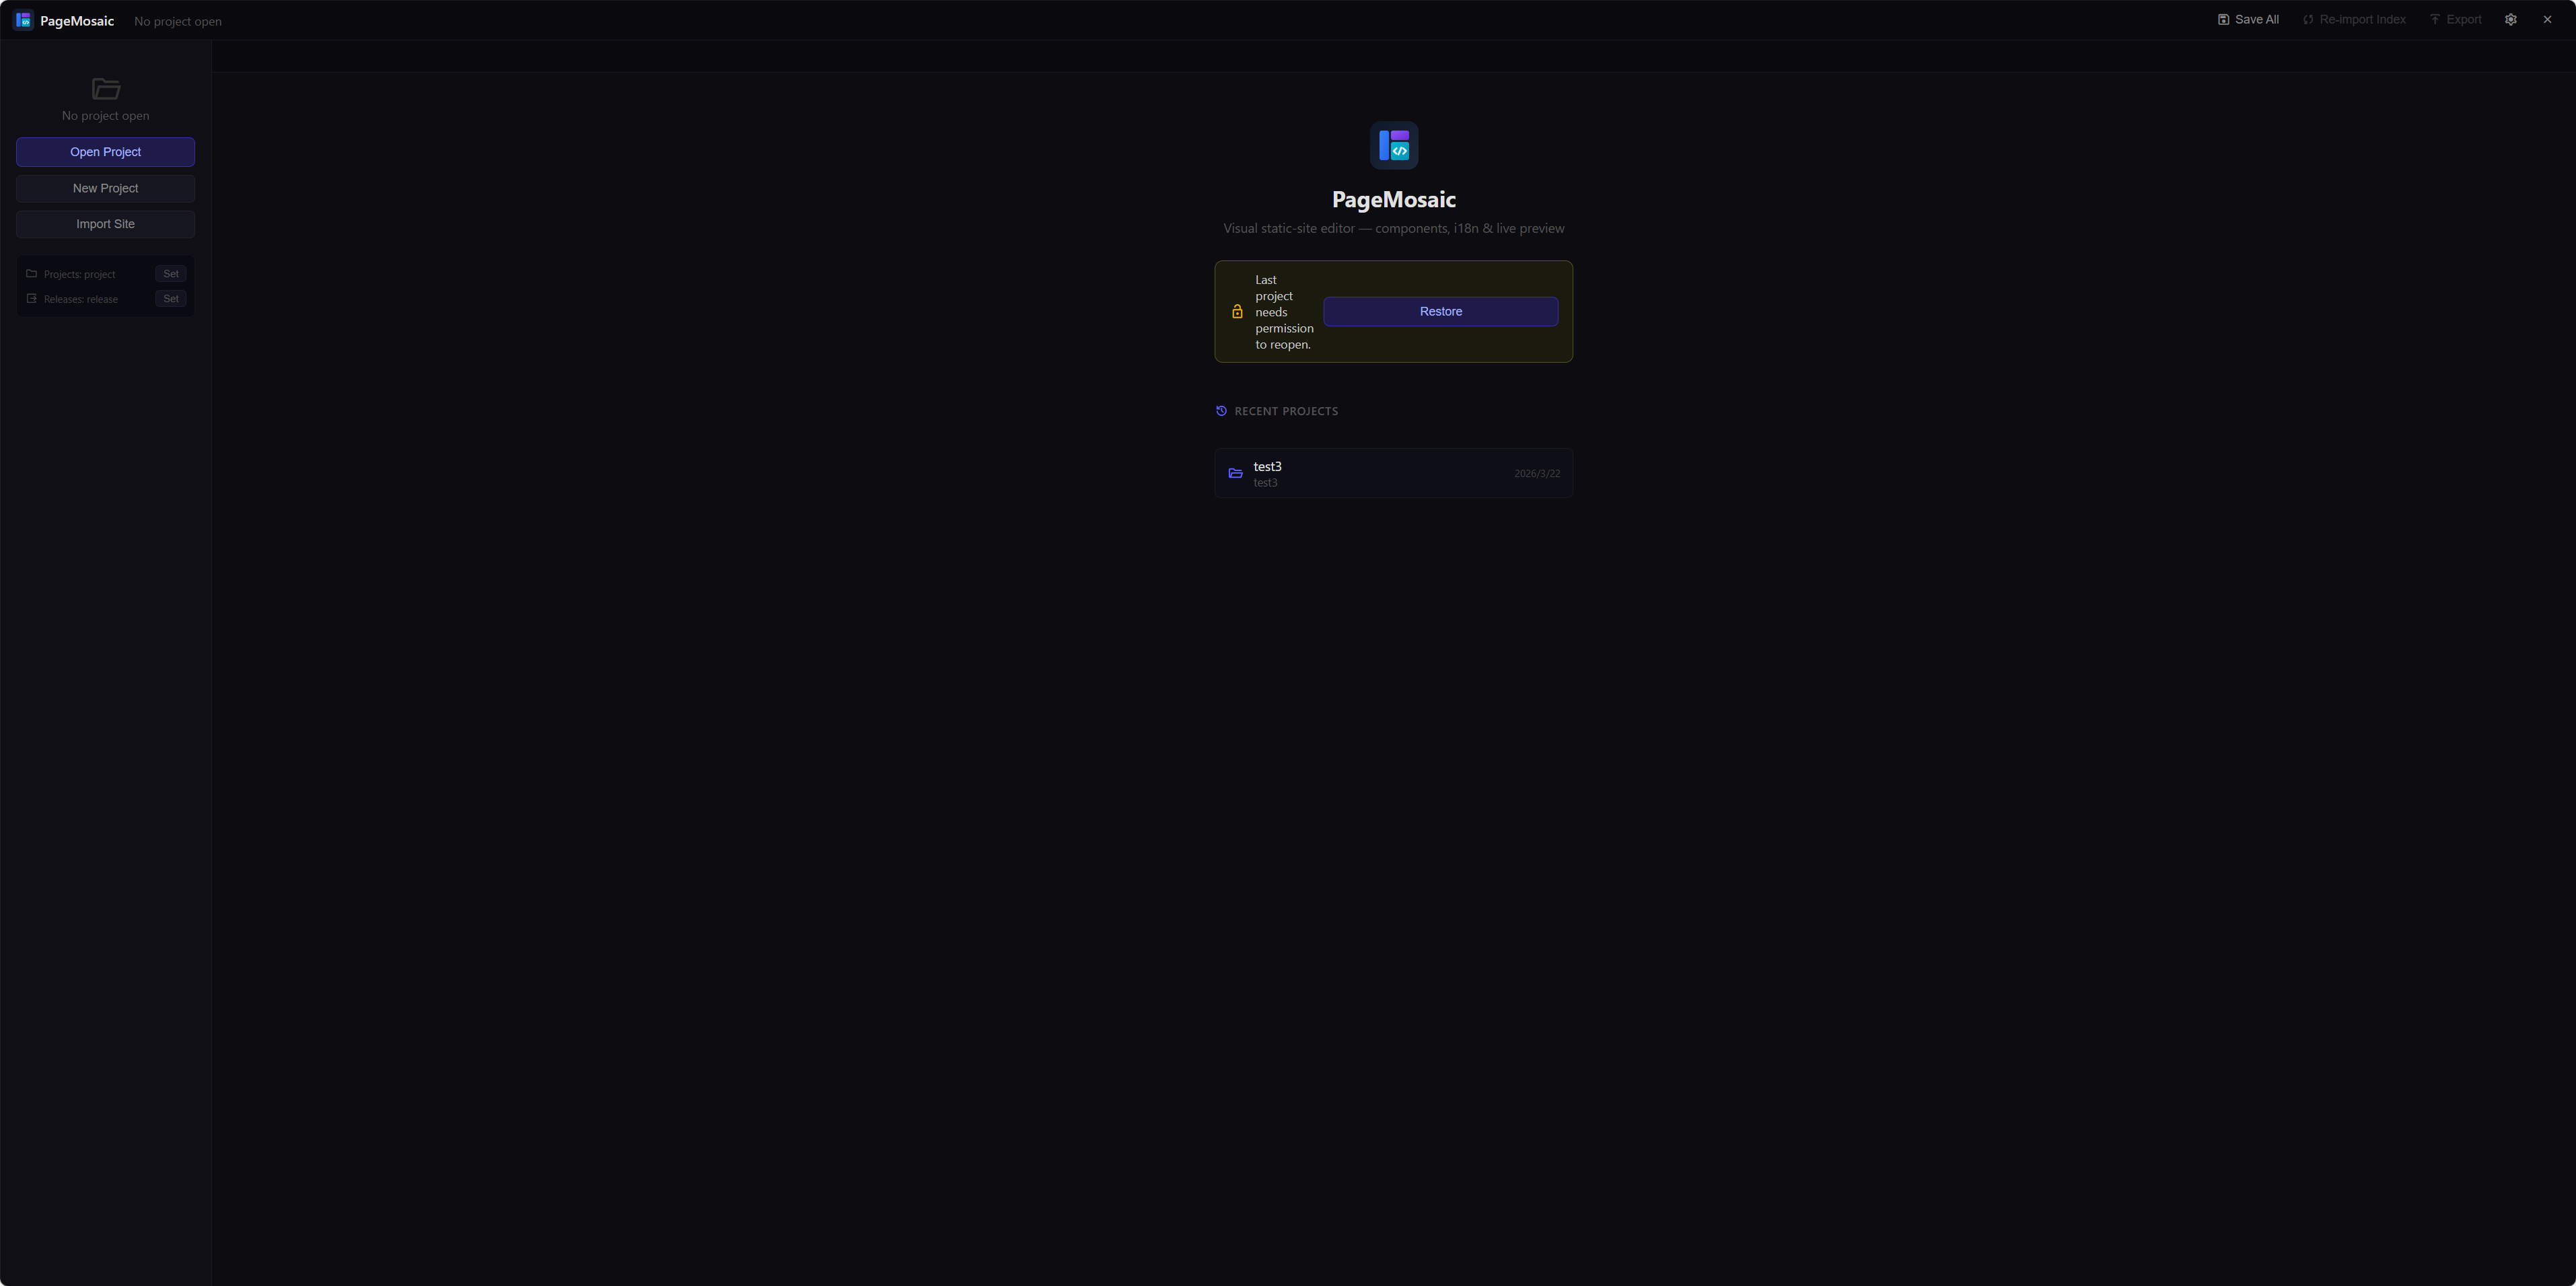
On first launch you'll be greeted by the Welcome screen:
Set Your Projects Folder
PageMosaic stores all your website projects in a single Projects folder on your computer. You choose where this folder lives — it can be on your Desktop, Documents, or anywhere else you prefer.
On the Welcome screen, click Set next to Projects Folder. A file picker will open — navigate to the folder you want to use (or create a new one) and confirm.
~/Documents/PageMosaic-Projects/.
Avoid using cloud-synced folders (iCloud Drive, OneDrive) as the root — large projects may cause sync conflicts.
After selecting, the path will appear in the settings panel:
This setting is remembered automatically across sessions — you only need to set it once.
Set Your Releases Folder
The Releases folder is where PageMosaic places the final exported website files when you click Export. This is the folder you would upload to your web server or deploy to a hosting service.
Click Set next to Releases Folder and choose (or create) a destination folder.
~/Documents/PageMosaic-Releases/.
If you use GitHub Pages or Netlify, you can point this directly to your deployment folder.
Each time you export a project, PageMosaic creates a subfolder named after the project
(e.g. my-website/) inside the Releases folder, keeping exports organised.
Create or Open a Project
With both folders configured, you're ready to start building. From the Welcome screen you can:
- New Project — start from a blank template. Give it a name and choose a CSS mode (Tailwind CDN is the easiest to start with).
- Import Existing Site — point PageMosaic at an existing HTML folder. It will auto-detect repeating elements and convert them into components.
- Open Recent — reopen any previously created project in one click.
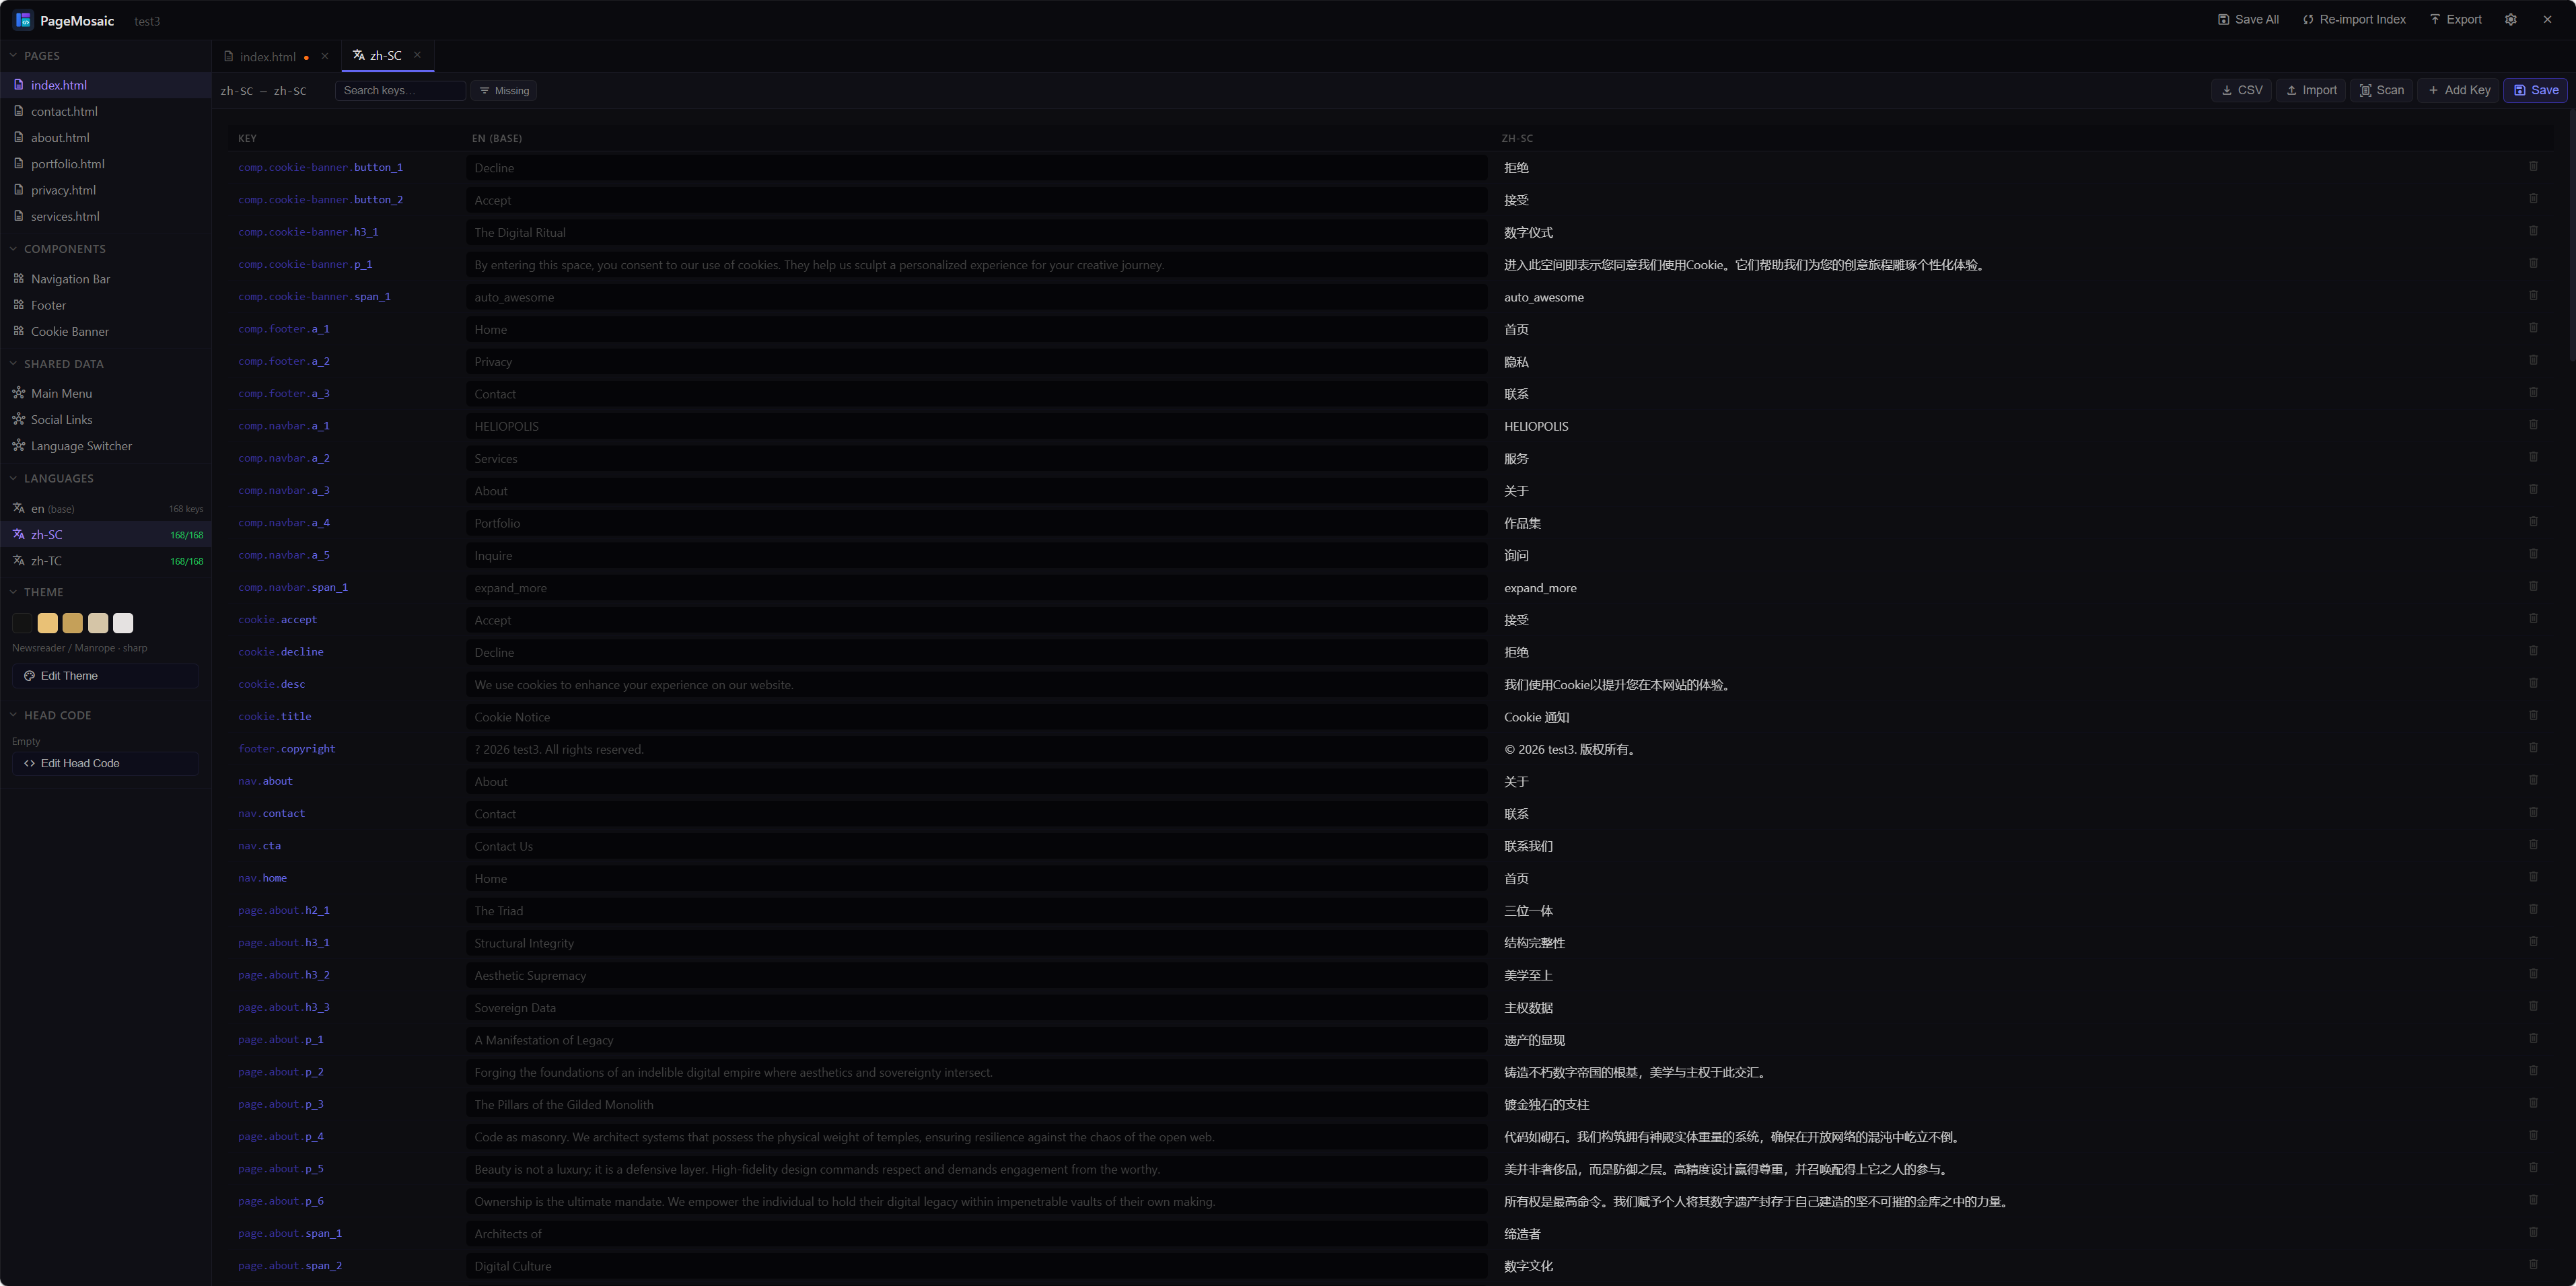
Once a project is open, the main editor interface loads:
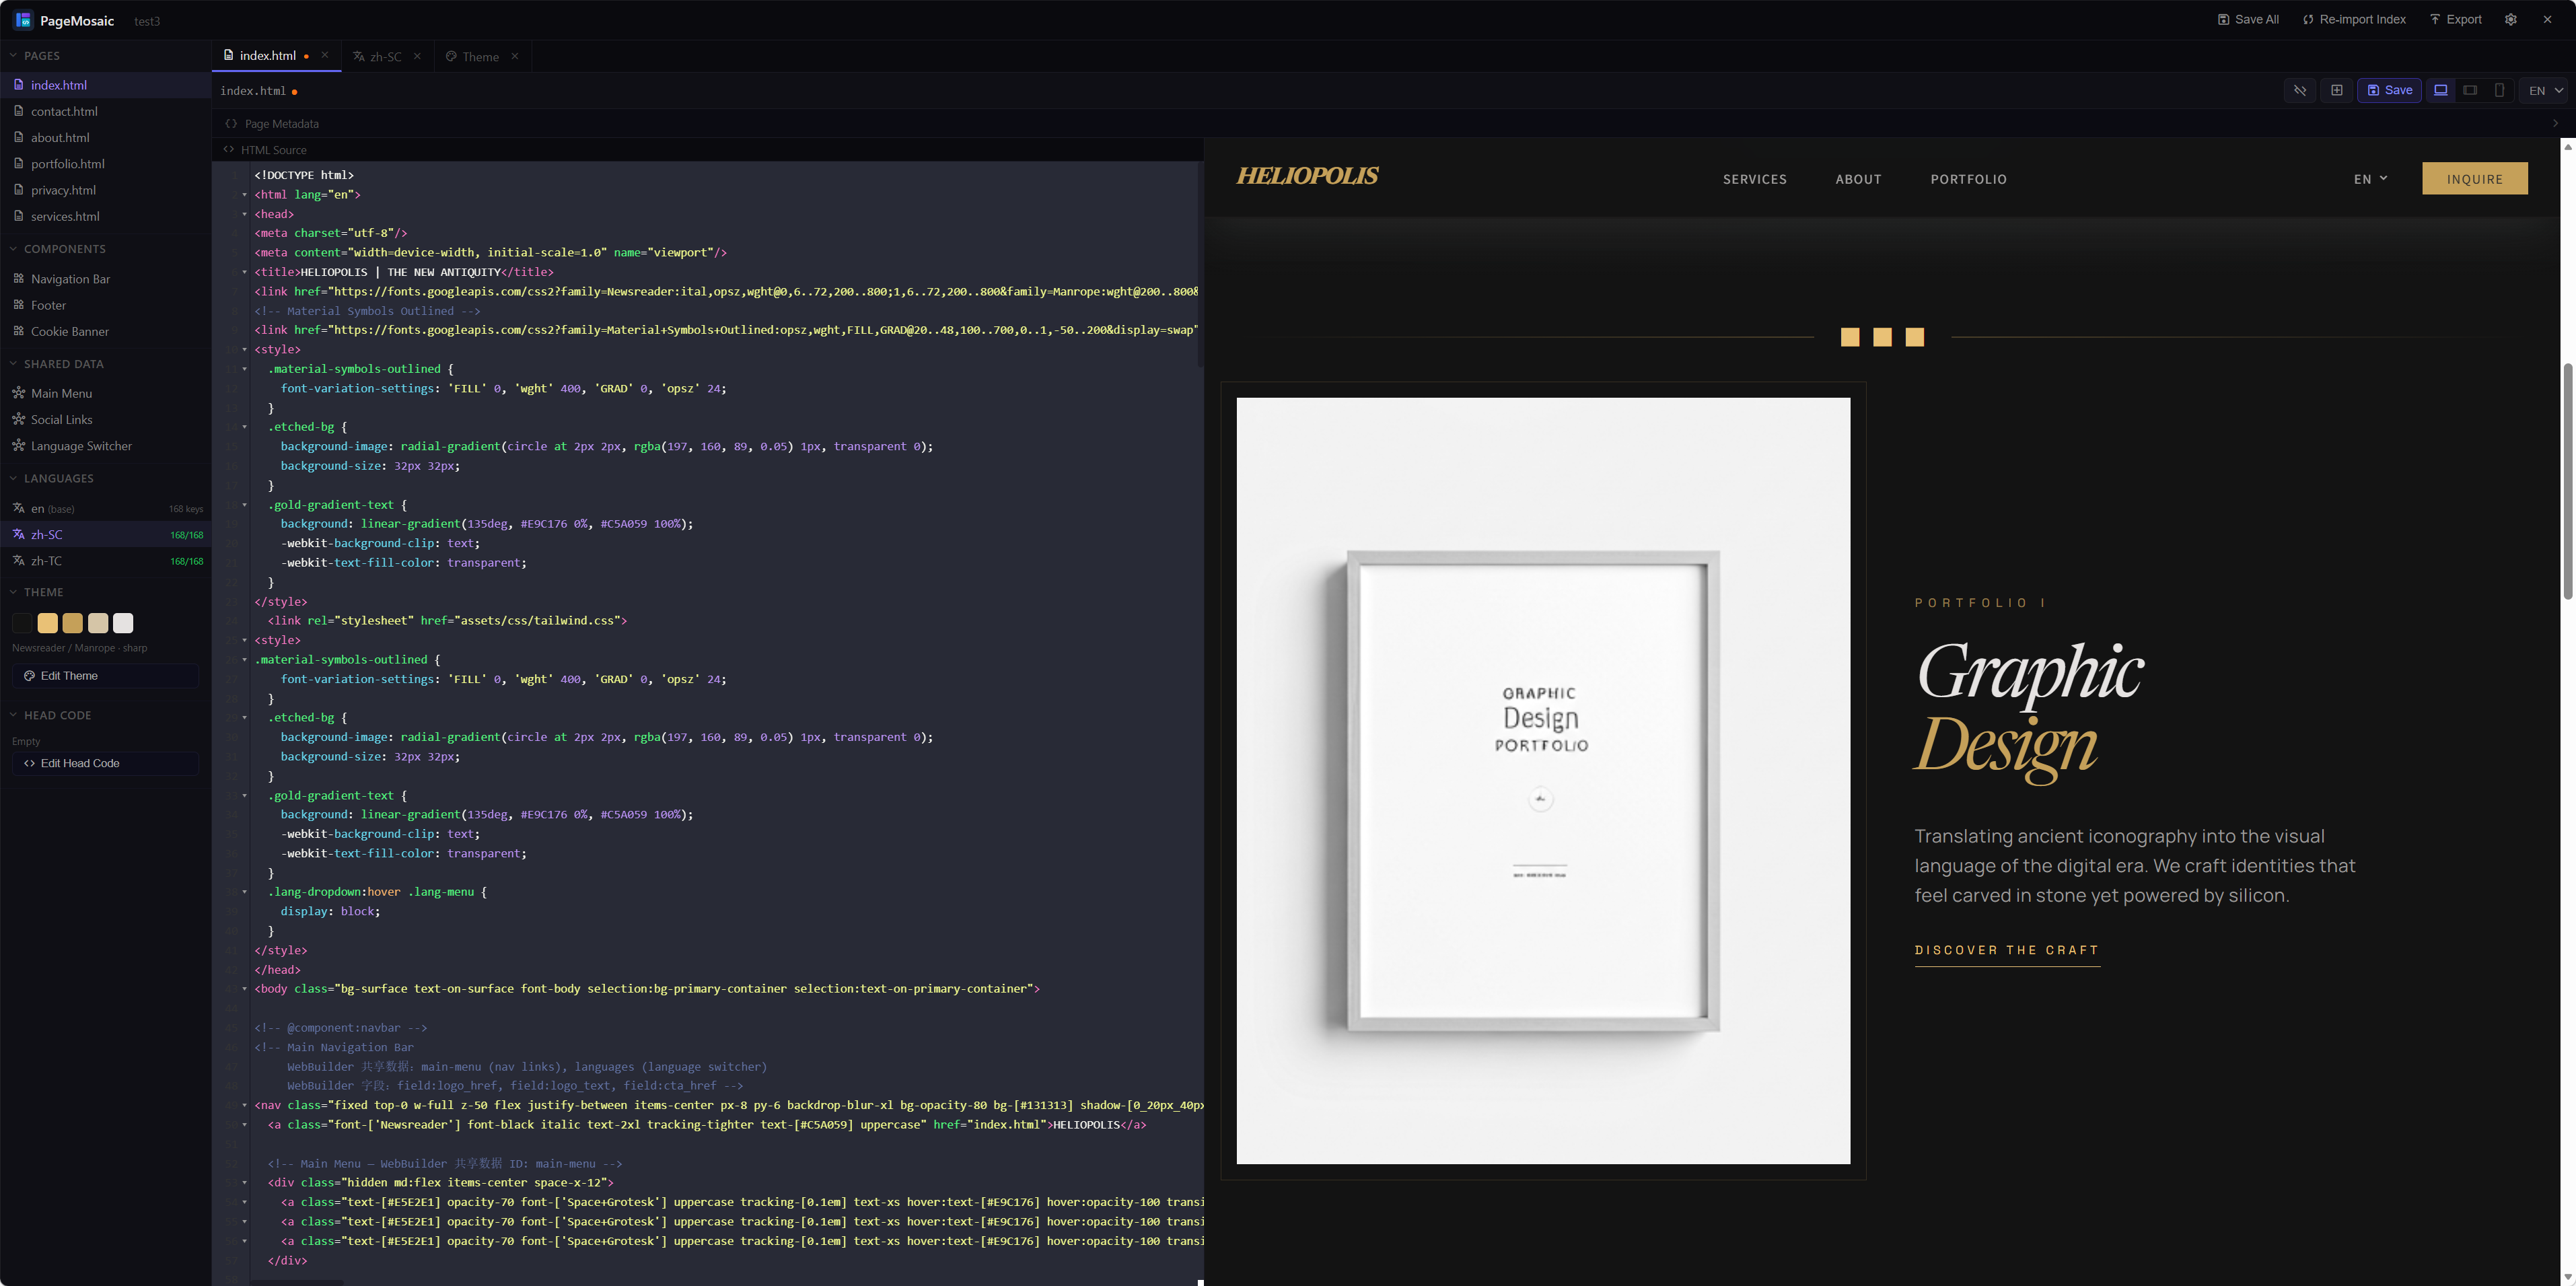
The interface is divided into three panels: the page/component tree on the left, the code editor in the centre, and the live preview on the right. Changes in the editor are reflected in the preview instantly.
Use the Built-in AI Assistant
PageMosaic includes a built-in AI chat panel. Click the AI button in the top-right toolbar (or press Ctrl+Shift+A) to open the panel. It floats over the editor so your code and preview remain fully visible.
Configure your AI provider
Open the Settings tab inside the AI panel. Choose a provider (OpenAI, Anthropic, Gemini, or any OpenAI-compatible endpoint), paste your API key, and click Save. Use the Test button to verify the connection before you start chatting.
Plan mode vs. Act mode
The panel has two modes, selectable from the toggle at the bottom:
- Plan mode — the AI analyses your request and explains what it will do step-by-step. No code is auto-applied. Use this to review the approach before committing.
- Act mode — the AI writes complete HTML code and applies it directly to the active page or component editor the moment the response finishes.
Context-aware suggestions
When a page or component is open, the AI automatically has its HTML as context. You can also use slash commands to inject extra context:
/page— append the full active page HTML to your message/comp— append the full active component HTML/i18n— append the current language's translation keys
Skills & Agents
Skills extend the AI with task-specific instructions (e.g. HTML Cleanup enforces PageMosaic component markers; SEO Optimizer rewrites meta tags). Select a skill from the toolbar drop-down before sending your message.
Agent personas let you switch the AI's role — for example a Web Developer agent focuses on clean semantic HTML, while a Copywriter agent focuses on persuasive page copy.
SKILL.md or .skill.json file
in the skills/ sub-folder of your configured AI Library folder (set in the Settings tab).
Explore More Features
Now that your workspace is set up, here's what to explore next: